I even drew a design on paper first (get me!) although, as with the designs that stayed in my head, it didn't end up exactly as I expected as my drawing wasn't to scale. My plan was to have a 10 inch round cake, half land and half lake, with the fisherman standing at the edge of the water on a platform holding his rod. In the water I planned on having a swan and three cygnets, as well as a little fish at the surface of the water. Around the fisherman I wanted reeds and possibly a tree.
I didn't take any pictures of the first tree that I made (I should really remember to do that by now), but it was a disaster. I made it from white icing with the idea that I would paint it with cocoa powder afterwards to make it a nice brown colour. What a mess that made. I didn't have any white fat (as I've learnt on my course when I did the stencilling, white fat helps powdered colour stick to the icing) so I tried mixing the cocoa powder with a little water so I had something that was the consistency of melted chocolate (note to self, this doesn't taste like melted chocolate... yeuch). But I just ended up with a big sticky mess. I'd made the tree trunk and the green top of the tree in two separate sections and that was the other issue - I couldn't get them to fit together properly.
So I decided that instead of a tree I would have a stump instead, with perhaps a small creature peering out from it. But I still had the issue of not having any brown icing (I forgot to mention I didn't have any brown colouring) and being unable to paint it, so a trip to Hobbycraft ensued, where I was able to get some chocolate flavour icing and I also picked up a grass and hair piping nozzle so I could do some grass as well as reeds.
So I made my stump, and it looked lovely. As it turned out there wasn't enough room on the cake for it anyway. Sigh.
I also made up hundreds (well, it felt like hundreds) of reeds with green flower paste, and ended up only using a few, as I realised I had no way of sticking them to the surface of the cake. I put them along the side instead, and was quite pleased with the effect.
So here we are:

I was so chuffed with the cake - it came out of the oven perfectly flat!
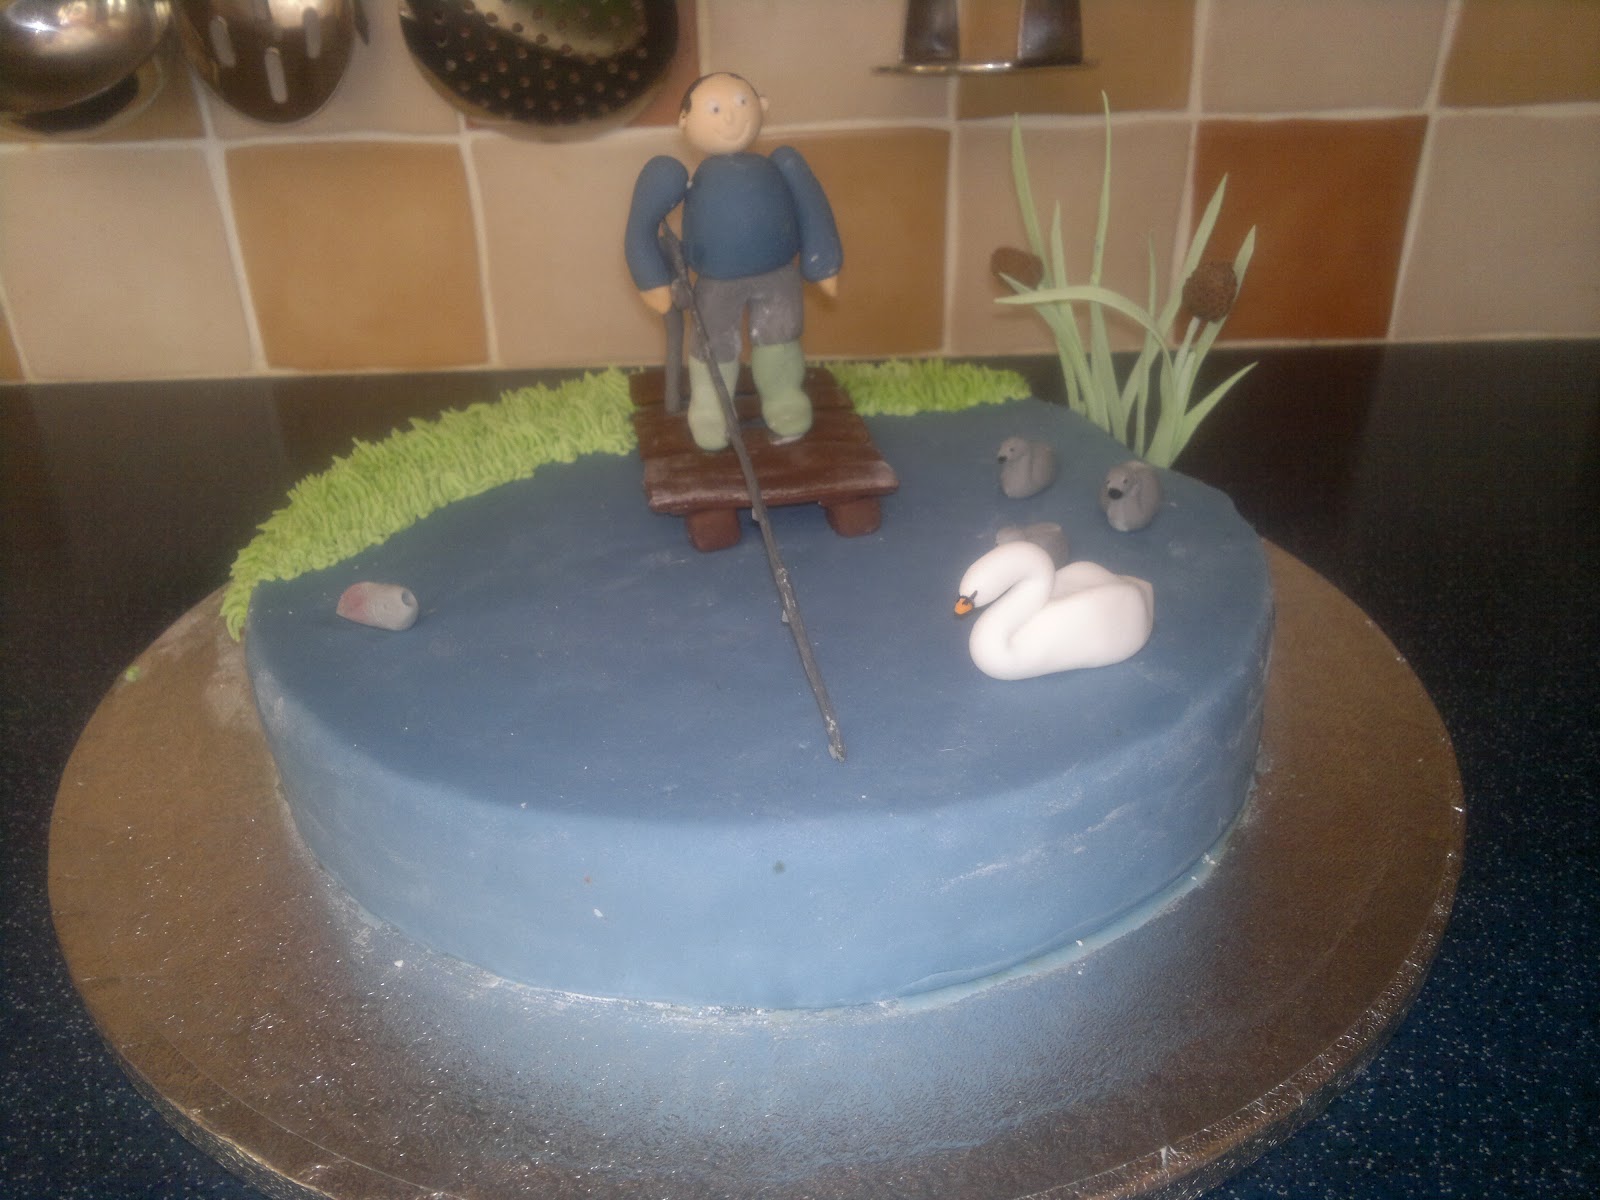

The fishing rod was made with a piece of thick gauge flower wire with sugar paste wrapped around it. I normally like to only use edible ingredients but short of making up a batch of pastillage (which I've never done before) I didn't seem to have much choice with that one as I needed something that would be sturdy.

The grass piping tip got put to good use - that's butter cream grass there.

Little rainbow trout :-)

I was proud of my sugar paste swan.

The cygnets had slightly wonky faces, but hey ho :-)

Good job I had some spare reeds, as these didn't hold up too well during the 400 mile journey!

The fisherman fell over as well, but luckily he stood up again quite nicely, with the help of some cocktail sticks!


